Back to electric power, 48v this time

I’m ditching the gas engine idea. Complexity, reliability, and safety for kid drivers being the main reasons.

I got a pair of 48v 1000w Motors, one for each side. And each with its own speed controller, with reverse.

More to come, a few pics for now. 20200106_210811.jpg20200106_170443.jpg

Firewalls and guards

Since the drivers of the tank are kids, I spent some extra time making impact resistant firewall and chain guard.  The engine firewall is 1/4″ uhmw with wood supports.

20160201_204505

The chain runs right next to the driver so I made an enclosure of uhmw and plexiglass.  I used plexi so I can still see the chain to watch alignment, tension, etc.

 20160201_204700

20160201_204623

I reused the levers from the old electric control box.

20160201_204635

And now I’m working on a tailpipe to keep exhaust out of the drivers area, gonna fit an o-ring and flange to bolt it on.

20160201_205146

20160203_232248


New Power Plant

I got the new power plant and set it in place, and it fit’s great.  It’s a 6.5 hp engine, with 3/4″ output shaft.  I put a 10-tooth sprocket on it because it will be direct drive constantly spinning the 2 counter-rotating shafts.  No clutch or anything is needed, as that is handled by engaging the belts downstream, just like a riding lawn mower.

20150826_08422720150825_180522

I also welded in a structure to hold the idler sprocket (which is needed to make the chain drive the shaft sprockets in opposite directions, as explained in a previous post).  The idler sprocket has it’s own 5/8″ bearing, so I just need a short 5/8″ bolt and it’s ready to go.
20150825_20574620150826_084232

Now it’s time to make permanent motor mounts, run the chain, and install the drive belts.

Transmission Shafts are in

I finally got the transmission shafts in place.  I built a little rectangle out of steel to bolt the bearings to, so they bolt right in and I can change them as needed.  I had to put in 3/4 thick (white) UHMW spacers for the bottom bearings, for shaft clearance under there.  I also got the double-pulleys onto the the track drive sprockets.  So now I am ready to measure, and go find the (4) v-belts I need.
20150819_013919

20150819_013858
20150819_013849

Belts and idler positioning

Before finally installing everything, I laid out the pulleys their approximate relative distances they would be from each other once installed, to verify the idler position and where it will need to swing to tighten the belts enough to engage the pulleys on the track drive sprockets. From this angle you can see how moving the idler up would fully engage the brown belt (reverse spinning), down would engage the green belt (forward spinning).

It also became evident once I laid this out, that moving the idler forward or backwards (left or right in the picture) will loosen or tighten the belts at the idler rest position.  Good to know when I make and position the idler actuator arm later.
BeltsIdler_small
trannySpacing

Transmission drive shafts

I began assembling the transmission drive shafts.  These are 3/4 solid steel rods, which I will need to cut a few grooves into for the pulleys keyways/set screws.  So far everything is looking like it is gonna fit and align perfectly.   One will be constantly sipping in forward, and the other in reverse when the motor is running.  There is no sort of clutches or anything.

Here are both of the shafts.  Once installed one will be right below the other one, and the pillow block bearings will bolt to the frame with the same bolts.
20150715_012643
I will weld in some mounting plates to bolt the bearing’s to the frame, since the holes would weaken that 3/4″ tube too much.  The white pulleys on the track drive sprockets are just set in place to show basic alignment.
20150715_012845

Going Gas Powered

Well, here goes. Taking the tank apart, pulling the electric motors, and swapping in a gas engine with a idler engaged pulley style transmission.  I’m tired of the 1hp from the electric motors, and not being able to have the tank really drive anywhere fun. Will probably go with a 3 to 6 hp engine in the back, and transmission in the front.

topOff

Here’s the basic plan for the transmission.  The motor spins 2 shafts in opposite directions.  Each has a pully on each side, which can be engaged with an idler, giving the 4 options:  Left Forward, Left Reverse, Right Forward, Right Reverse.
TransmissionPlan

To turn the 2 shafts in opposite directions, the current plan is to have the chain wrap around a sprocket on each shaft, and an idler to give the proper clearance.
CounterDriveSmall
The other option is to drive one shaft with the motor, and have it drive the other shaft in reverse via cogs/gears.  But I’m leaning toward the chain method.

Mini Maker Faire at OMSI

I had the tank on display at the Portland Mini Maker Faire at OMSI (Oregon Museum of Science and Industry) over the weekend, along with my current Batpod build. I had some helpers drive the tank around, and the kids there had a great time getting in it, sticking their head out the hatch and getting their pictures taken, etc. Here are some pics of the great weekend, and I’ll have a video soon as well. Thanks to OMSI for having us. And a BIG thanks to all my helpers.
20140914_10582520140914_124341
20140914_12333920140913_133610

Visit to Oregon Veterans’ Home

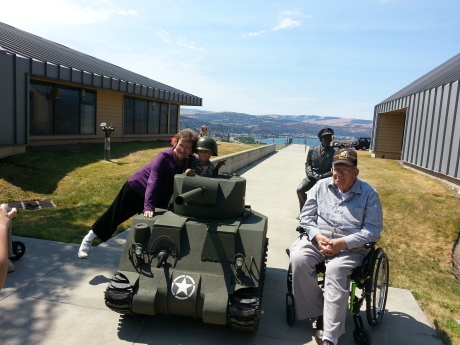
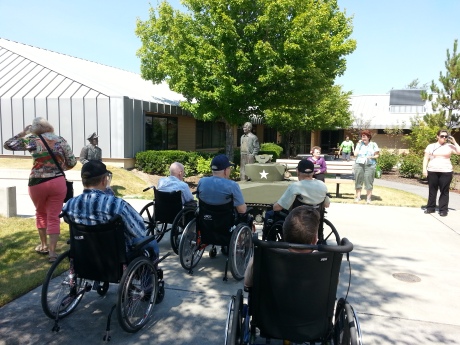
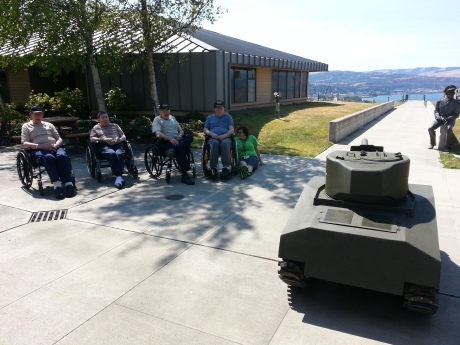
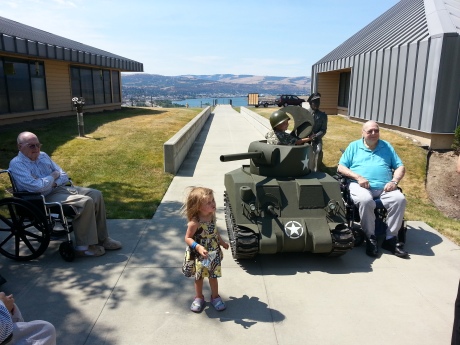
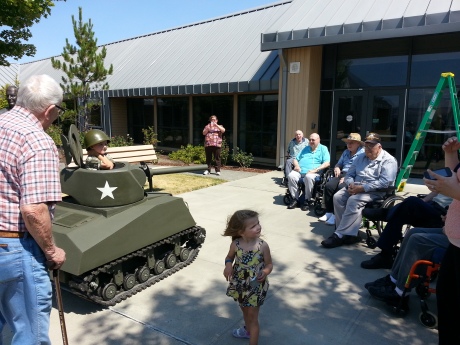
Thanks to the Oregon Veterans Home for letting us bring the tank there! We brought it for some of the residents to take a look at it, ask questions, have their picture taken with it, and watch my son drive it a little. We had a great time, the residents seemed to enjoy it, and the staff was really great. I also brought a display of pictures of the build process, most of which were pulled straight from this blog. Here are a few pictures of the great day we had there.

VeteranHm3

VeteranHm4

VeteranHm5

VeteranHm2

VeteranHm1

More tank driving

This was my son’s first chance to really drive the tank by himself, with the turret on, in an area big enough to go for a while with nothing to run into. He had a great time. The tank did pretty good.. nothing broke, and the suspension and controls all worked fine. Just need some more HP at some point, it struggles turning in place on soft terrain, and going up steel inclines.